Tips for Do-It-Yourselfers
Bay windows permit 30 percent more light to go into the room than same-sized vertical windows. According to a home embellishing perspective, lookout windows do not utilize divider space, in this manner making a more prominent feeling of extensive size, while lighting and ventilating rooms. These days, lookout windows are accessible in an assortment of shadings, shapes, sizes and types to suit each sort of houses and rooftops. Lookout window establishment can be about as straightforward as covering a jug. Nonetheless, one can play out the errand flawlessly for certain tips on something very similar.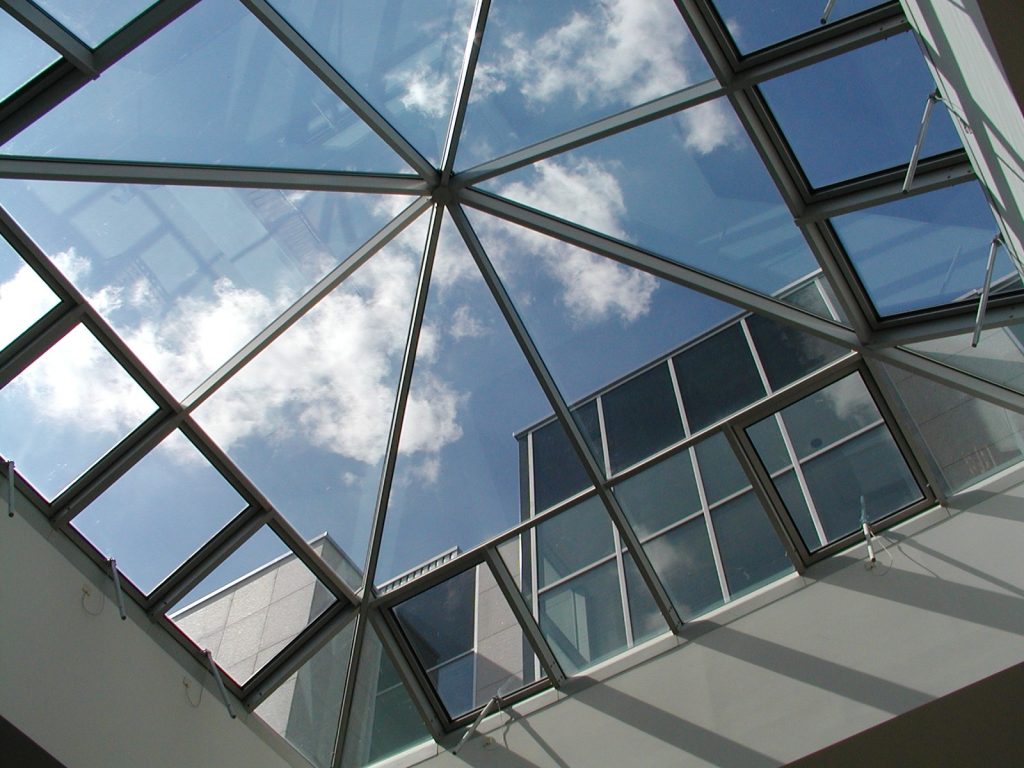
Lookout window Installation: Steps
Similarly as choosing the right item is of essential significance, so is the requirement for appropriate lookout window establishment. Since you need to remove an opening in the rooftop, you should be extremely careful. Inaccurate establishment can make your home vulnerable to releases, drafts as buildup develop. You could consider employing a specialist to finish the establishment cycle or the individuals who like to do things themselves can attempt their hand with the accompanying tips:
Stage 1: With an estimating tape, draw a chalk line keeping a 3-inch hole on every one of the four sides of the lookout window. Clear the rock or stones utilizing a utility blade. Spot the gadget into the focal point of the opening and secure it with material screws.
Stage 2: Cut out a couple 8-inch wide material papers strips and slide them underneath the shingles or rock on every one of the sides, starting at the underneath the shingles or rock on every one of the sides, starting at the skylights Cape Town. Eliminate the nails and stones with a level pry bar, whenever needed, to introduce the paper.
Stage 3: Introduce one base glimmering piece and fold it over the lower part of the bay window glass. Guarantee that it covers the top region and is level against the shingles. You can screw some blazing nails on a level plane into the lookout window side with the assistance of a mallet.
Stage 4: Slide some glimmering pieces under the shingles. Proceed with the work from the base upwards. Cautiously check every one of the pieces to guarantee that they cover each other by at least 4 creeps on all sides.
Stage 5: Slide a hard blazing piece underneath the lookout window and under the material by using the base piece of the glimmering. Fix the side pieces also, working your direction round until you complete the establishment, with the head blazing fixed on the highest point of and under the material.
Bay window establishment will clearly fill you with a feeling of achievement. To partake in the best outcomes, ensure that you select your lookout window from a notable producer.